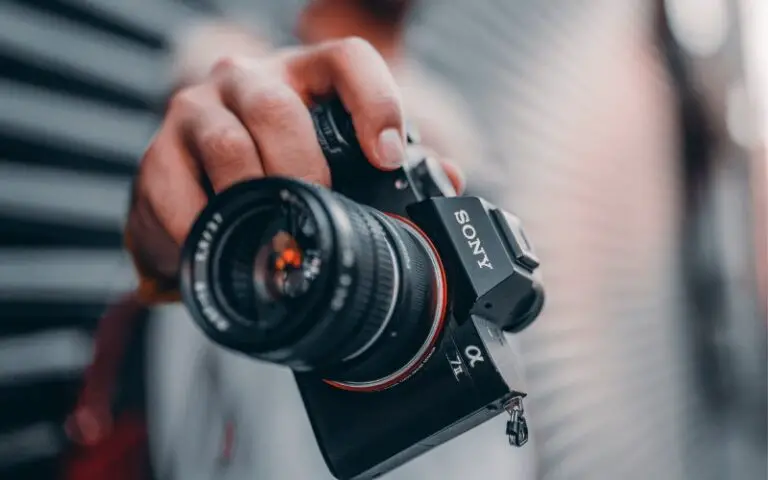
How To Convert Avchd To Mp4 On Sony Camera
The acronym AVCHD stands for Advanced Video Codec High Definition, which describes the high-definition video format known as AVCHD. You can find this video in Sony cameras. It’s an HD video format that’s easy to work with and can be played back on a wide variety of devices.
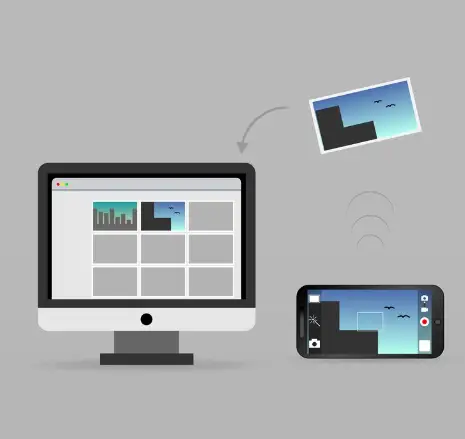
However, if you want to share your AVCHD videos with others or use them on devices that don’t support this format, you may want to convert them to a more widely supported format like MP4. To turn AVCHD into an MP4 on a Sony camera, you will need to use the camera’s built-in software to convert the files.
In this article, I will explain how to convert AVCHD to MP4 on a Sony camera.
What Is Mp4, And Why Convert Avchd To Mp4?
The MP4 file format, also known as MPEG-4 Part 14, is widely used for storing and transmitting digital video content. It is based on the MPEG-4 standard and uses lossy compression to reduce the size of the files without significantly affecting their quality. Other than sound and visual pictures, MP4 files can also store other data types, such as subtitles and still photos.
Furthermore, if you are wondering why AVCHD files should be converted to MP4 format; there are several benefits to switching from AVCHD to MP4. Some of these are:
- MP4 is a more widely supported format than AVCHD. Many devices and media players can play MP4 files, making it easier to share and view your videos on various devices.
- MP4 files are generally smaller in size than AVCHD files. It can save space on your camera’s memory card and make it easier to manage your video files.
- Converting AVCHD to MP4 can make your videos more versatile and easier to share. For instance, you can share MP4 files on social media or email them to friends and family.
- Some video editing software may not support the AVCHD format. Converting the files to MP4 can make it easier to edit your videos using these tools.
How To Convert Avchd To Mp4 On Sony Camera
If you want to turn AVCHD to MP4 with Sony camera software, you can use the following steps:
- Connect your Sony camera to your computer using a USB cable.
- Open the Sony camera software on your computer. It is typically installed along with the camera’s drivers and can be found on your computer’s Start menu or by searching for it in the search bar.
- In the Sony camera software, go to the Import/Export tab, where you can import and export videos from your camera.
- Click on the Import Videos button and select the AVCHD files you want to convert to MP4.
- After importing the AVCHD files, go to the Export tab and choose MP4 from the list of export formats.
- Select a location on your computer where the MP4 files will be saved, then click the Export button to begin the export.
- Wait for the conversion to complete, and then you can access the converted MP4 files from the destination folder.
Transferring Converted Files From Sony Camera Software Back Onto Your Sony Camera
To transfer converted files from Sony camera software back onto your Sony camera, you will first need to connect your camera to your computer using a USB cable.
Once the connection is set, you can access the files on your camera and transfer the converted files onto the camera. The exact steps will vary depending on your specific camera model and the software you are using, so it is best to see the user manual for detailed instructions.
And you need to select the correct storage location on your camera for the transferred files.
Read more Best Sony Camera for Beginners
FAQs
How Do I Change Avchd File To Mp4?
To convert an AVCHD file to MP4, you will need to use a video converter tool. If you need to change a file’s format, you can install a video converter program on your computer. Then open the tool and select the “Convert” or “Convert Video” option. Select the AVCHD file that you want to convert. Choose MP4 as the output format. And After choosing a destination for the converted file, click the “Convert” button to begin the process.
What is AVCHD On Sony Camera?
AVCHD is a video format used by Sony cameras to record hd video. It is a highly compressed format that uses advanced video coding techniques to deliver high-quality video with a small file size.
After transferring it from the memory card to your camera, you can edit and share your AVCHD footage on a computer. Some Sony camera software, such as the PlayMemories Home software, can convert AVCHD files to other formats, such as MP4, for compatibility with other devices and software.
How Do I Change The Video Format On My Sony Camera?
You will need to go to the camera’s settings menu to change the video format on a Sony camera. Turn on your camera and press the “Menu” button. A rectangle with horizontal lines is the standard symbol for this. Use the navigation buttons on your camera to select the “Setup” or “Settings” option. This will typically be represented by a gear or wrench icon. Scroll through the available options and choose the one that says “Recording Format” or “Video Format.”
Use the navigation buttons to select the desired video format. Press the “OK” or “Enter” button to save your changes and exit the menu.
Conclusion
Now you know How To Convert Avchd To Mp4 On Sony Camera. Converting AVCHD to MP4 on Sony cameras may vary depending on the model, but this is easy with no quality loss. You have to follow the guidelines and have professionally-looking videos in no time.

I am Terry E. Collin.
I have some top branded cameras, especially Canon R6, Canon EOS 60D and 70D, Nikon D700, Lumix G9, Lumix G85, and many more. I have been doing photography for 5 years with Top Brand cameras like Canon, Sony, Nikon, Panasonic, etc.
The purpose of creating this blog is to share my personal experience and expertise with most popular cameras.
Let’s share some of them one by one in this blog For FilmingLab Audience
![Can You Use RF Lenses On 5d Mark IV: [Answered]](https://filminglab.com/wp-content/uploads/2022/06/Can-You-Use-RF-Lenses-On-5d-Mark-IV--768x407.jpg)