How to Use External Flash on Nikon
Speedlights, also known as external flashes, are essential to achieve experienced results with a Nikon DSLR. It helps create the perfect shot from portrait to wedding photography and allows you to take better-quality photos in various settings and scenarios. It can give you more control over the lighting and help you create professional-looking shots.
When it comes to setting up the proper configuration, there are several vital things to consider, such as power output levels and whether or not the built-in “bounce” feature is needed. If you want your photos to look their most authentic, you may also need to adjust settings like white balance, exposure compensation, or shutter speed according to the light conditions around you to get the most effective results.
In this article, we’ll dive into how to use external flash on Nikon and the basics of setting it up; let’s see.
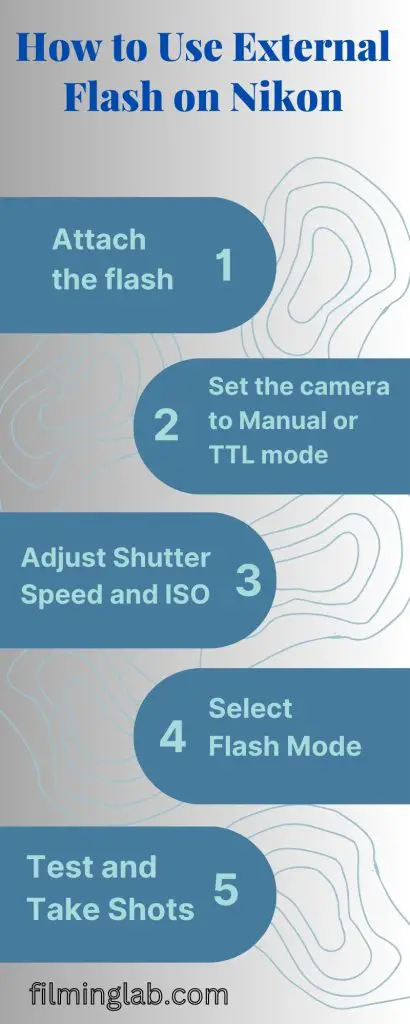
How to Use External Flash on Nikon: Step by Step
In photography, it is necessary to know when and how to use an external flash and how to operate it effectively. It is clear that an external flash can unlock many options for photographers, providing them with extra light when needed and allowing them to capture images in challenging conditions.
If you have the proper knowledge, you can take your photography skills to the next level and control the light output, direction, and spread of the light while reducing shadows or highlighting the finer details in your pictures. Using these simple tips, you can easily make the most of the external flash devices that come with your Nikon camera!
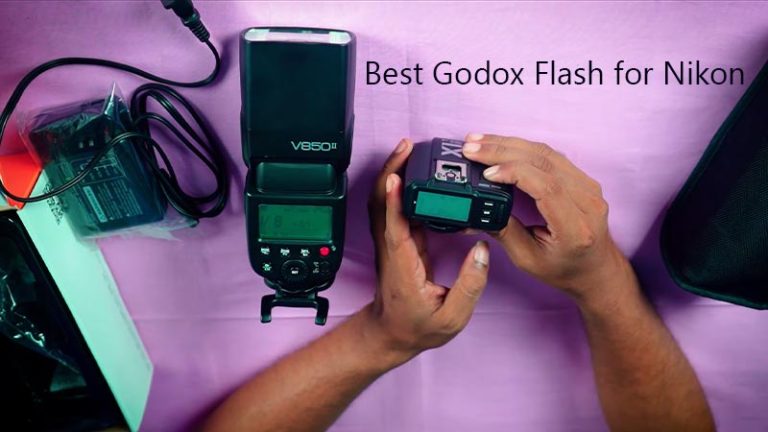
Check out our previous guide if you haven’t found the best flash for Nikon yet, where we have created our guide based on the user’s needs.
Okay, now let’s get back to our main topic. In the below section, we have described everything step by step in detail. By following these tips, you’ll be well on your way to capturing amazing photos using an external flash with your Nikon camera!
Read more Why is my Nikon camera blurry? Incorrect camera positioning
Step 1: Attach the flash
The first step to properly using an external flash is attaching and configuring it correctly. Understanding what type of flash works with your specific camera model and how to attach it is important.
Place the external flash foot into the hot shoe mount on top of your camera body and attach it to the camera. To ensure the foot fits securely into place, you can remove or fold down any obstacles, such as pop-up flashes found on some cameras, or rotate them out of the way. When you hear an audible click, that means it has been securely locked into position.
Step 2: Set the camera to Manual or TTL mode
The first stage is deciding whether you want to use manual or i-TTL mode. With Manual Mode, you can adjust your lens’ aperture and shutter speed to adjust the amount of light it captures. Alternatively, you can select i-TTL mode to have your camera automatically adjust these settings to meet your needs.
The following action is to set the type of focus on your camera AF-S or AF-C based on whether you are shooting motionless or moving subjects. Also, make sure that you select other options, such as white balance and image quality, to improve the quality of your photos.
Step 3: Adjust Shutter Speed and ISO
It is generally recommended that you set your shutter speed according to the object’s appearance in the final shot. For example, if you want to take a picture of someone dancing or running, then you need to use a faster shutter speed so that they are frozen in motion. On the other hand, a slower shutter speed works better if you are taking a portrait of someone sitting still.
Additionally, ISO should be adjusted based on the light in your scene; higher ISOs are helpful when there is not enough natural light. According to experts, ISO levels should be kept low (around 100) depending on the condition.
Step 4: Select Flash Mode
This step largely depends on what kind of photo you’re taking; will it be taken indoors or outdoors? How is the lighting? With that in mind, Nikon offers three main modes – Auto, Manual, and Red-Eye Reduction – which all work differently depending on the conditions.
When you select Auto, your device automatically adjusts the power output based on your environment. When you choose Manual, you can fine-tune settings like ISO and aperture.
Step 5: Test and Take Shots
Before shooting:
- Adjust the settings according to what you hope to achieve.
- Make sure you try changing things like ISO, shutter speed, aperture value, and light exposure compensation to determine the right settings for your desired outcome.
- Remember to experiment with flash output as well – find the right intensity level for your image by trying different levels.
After everything is set up correctly, let’s get some test shots! To find the right image, take several quick photos and compare them.
Conclusion: Capturing with External Flash
There is no doubt that external flashes can be a powerful tool for photographers. With it, you can provide fill light, create depth and shape in images, and create stunning effects. Hopefully, this how-to use external flash on Nikon guide helped you get your answer and get the maximum performance from your flash.

I am Terry E. Collin.
I have some top branded cameras, especially Canon R6, Canon EOS 60D and 70D, Nikon D700, Lumix G9, Lumix G85, and many more. I have been doing photography for 5 years with Top Brand cameras like Canon, Sony, Nikon, Panasonic, etc.
The purpose of creating this blog is to share my personal experience and expertise with most popular cameras.
Let’s share some of them one by one in this blog For FilmingLab Audience