How To Transfer Video From Panasonic Camera To Computer
If you own a Panasonic camera, you must have thought of transferring your still images & videos from the camera to the computer. It has opened up a new dimension indeed, as a user can upload his videos to his favorite social media and can share them with his family & friends instantly. However, how to transfer videos from Panasonic camera to computer?
Most cameras support a USB connection for video transfer. It’s best to use the provided USB cables for it. In case you don’t own a proper cable, get one from the local electric shops. Besides the USB port, you can also directly transfer videos via WiFi or SD card.
In our content below, we have discussed each method in detail How To Transfer Video From Panasonic Camera To Computer. We have also included necessary tips and FAQs. So, are you ready to share your favorite moments with your family and friends now?
How To Transfer Video From Panasonic Camera To Computer?
In order to transfer video from the Panasonic Lumix camera to the computer, you have to first connect the camera to the computer. Thus –
- Switch on the computer & the camera.
- Create a folder in the computer where you prefer to store the videos or still images from the computer.
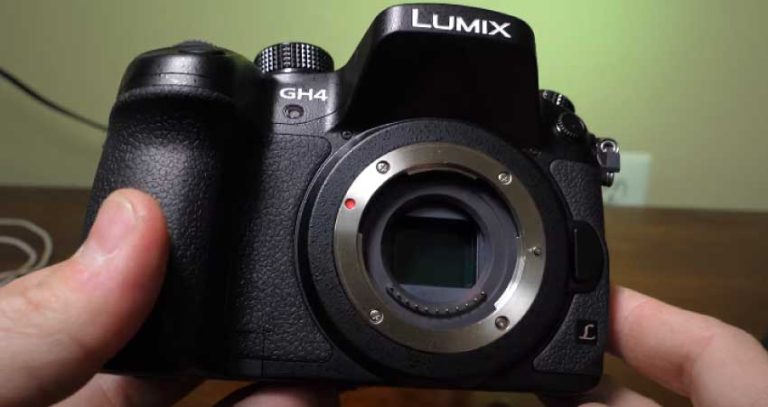
Panasonic Lumix camera is highly compatible with most PCs featuring mass storage device recognition capabilities.
Method 1: Use A USB Cable
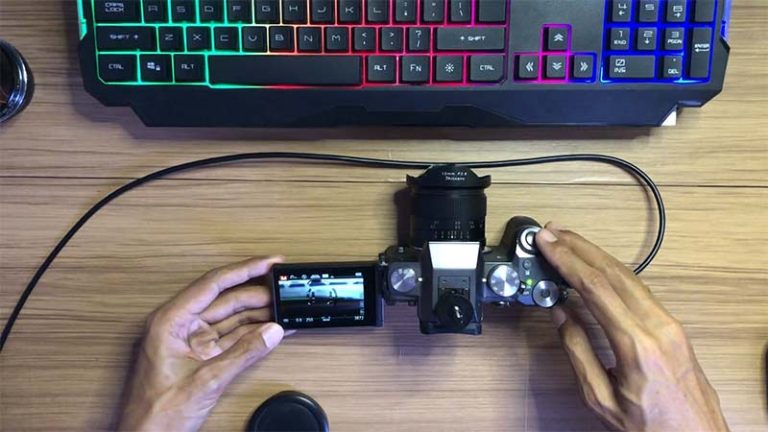
- Take the supplied Panasonic USB cable and hook it up with both the camera & the computer.
- Before hooking them up, be careful about the connector’s direction. Plug or unplug them straight, as bending them will result in severe malfunction.
- Choose PC and press the menu/set button.
- In the case of some models like- DMC-FH22, FH27, DMC-FP5, and FP7, the Lumix drive will show up on the PC. Otherwise, the removable disc option will appear.
- Now the PC & camera is totally connected. Just drag & drop the videos from the camera to the PC & that’s it!
- Once you are done with image transfer, carefully unplug the USB connection.
Tips:
- If the menu doesn’t appear after establishing the USB connection, click on my computer. There you will find the camera listed as a drive.
- If you want to choose multiple video files individually, firstly click on the first video file you want to copy. Click the ‘Ctrl’ button and select additional files to copy.
- You can also choose multiple video files together by pressing and holding the ‘Shift’ button.
- In the case of some models like – DMC-FH4 & DMC-FH6, you will require the ‘Photo fun studio.’
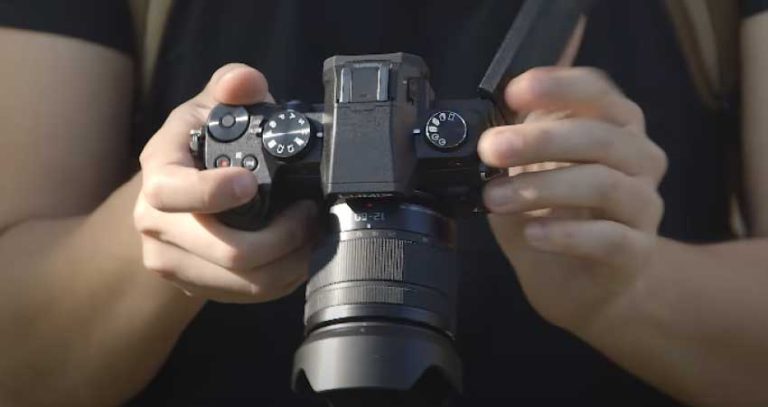
Method 2: Transfer Videos Via WiFi
- Switch on the camera WiFi, and the light will turn on.
- Now the camera will act as a WiFi emitter with SSID, password & a QR code.
- Select ‘WiFi function’ from the camera and tap on ‘New connection.’
- Click on the bottom option – ‘Send Images Stored In the camera.’
- Now you will get more options like – smartphone, PC, cloud & other web services.
- Select PC and enter your computer name.
- Choose the folder you want to transfer and decide whether you want to send via network or direct network.
- Check out the send settings once and press on ‘set.’
Now you can send stored images from the camera to the computer right away!
Tips:
- In case the camera asks for the user Id and password, enter the password of the PC.
- If the computer name contains space, the camera might have a hard time recognizing it. Just alter the name into alphanumeric characters only.
Method 3: Use The SD Card Directly:
- Firstly slide the card battery door.
- Press the SD card & take it out with the help of the spring caster.
- Now insert the memory card into the PC’s card reader slot.
- You will see the card’s content on the screen. If the connection has been made accurately, you will see a ‘Removable disc’ icon.
- Check the removable disc and open the folder and view the files.
- Tap on DCIM, and the video/picture folder within the DCIM will show up.
- Now type ctrl+A and select all.
- Type Ctrl+C and copy files to the clipboard.
- Now go to your preferred folder on the PC and select Ctrl+V to transfer them from the SD card to the computer.
Tips:
- Carefully insert the SD into the card reader slot as bending it will cause malfunction.
- If the computer can’t recognize the SD, take it out and insert it again.
FAQ:
How do I Connect my Panasonic Camera To my computer?
There are multiple ways to connect the Panasonic camera to the computer. Among them, the most popular technique is to connect them via USB cable. Don’t use a random one. Go for the genuine Panasonic Lumix USB cable to avoid malfunctions. Once the connection is established, the camera drive will appear on your PC screen as a removable disc. You can also connect it to your camera directly via WiFi.
How do I transfer videos from my Panasonic Lumix to my computer?
Transferring videos by USB cable is the most convenient and inexpensive option. You can also go for a direct WiFi connection as all modern Panasonic cameras come with built-in WiFi. If you have all the camera’s content inside a memory card, insert it into your PC and copy your desired files from it.
Final Verdict:
How to transfer videos from Panasonic camera to computer? In this decade, it’s definitely a grave concern as everyone prefers to show off their photography skills on social media. Nowadays, most cameras feature in-built WiFi for fast & convenient transfer. If you don’t prefer wireless communication, you can also transfer pictures and videos from your Panasonic camera to the PC via the provided USB cable. I believe after going through our detailed content; the procedure seems much easier than before. So, are you ready to share your amazing photographs with your friends and families now?

I am Terry E. Collin.
I have some top branded cameras, especially Canon R6, Canon EOS 60D and 70D, Nikon D700, Lumix G9, Lumix G85, and many more. I have been doing photography for 5 years with Top Brand cameras like Canon, Sony, Nikon, Panasonic, etc.
The purpose of creating this blog is to share my personal experience and expertise with most popular cameras.
Let’s share some of them one by one in this blog For FilmingLab Audience