How To Use A Panasonic LUMIX Camera?
In this decade of modern technology, digital cameras have made incredible progress. In terms of functionality, almost all cameras are pretty much equal. The way of handling & operating the digital camera can bring up noteworthy differences. But what are the basic Lumix camera modes? How to use a Panasonic LUMIX camera?
Like all digital cameras, the Lumix camera features four modes: program, shutter priority, manual & aperture priority. So, operating a Lumix Digital camera is super easy. After getting the basic idea of multiple features, you can progress by altering meter exposure, multiple exposures, bracketing, and many more.
Basic Instructions To Operate The Panasonic LUMIX Camera For video
Panasonic Lumix has all types of digital cameras to meet the needs of both professionals & newbies. Though all models are somewhat different, they have many standard features as well. Before discussing the tips & tricks to use the camera, we would like you to focus on the basic Panasonic Lumix camera settings first.
The Auto Focus Mode:
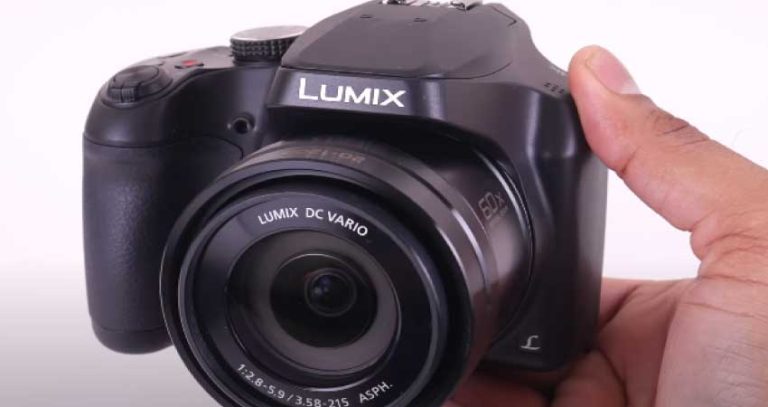
Panasonic LUMIX camera features a power & a shutter button to take instant shots. The camera usually takes pictures in autofocus Mode by default. At first, drag the shutter button halfway downwards & keep the subject within the focusing range. Once you are ready, press the button down & take the shot right away.
Flash:
Flash is a standard option for every digital camera out there. A user can turn on/ off or set up the auto mode as per his preferences. Once he taps the button with the ‘lightning bolt’ sign on the camera’s back, he will get on-screen options for further settings.
When it comes to flash, I would personally advise you to turn them off as on-camera flash creates unnecessary glares. Trust me, after realizing the relations between ISO, aperture & shutter; you will never use the flash. For instance, if the ISO is around 25000, users won’t need flash even in dark conditions.
ISO:
ISO settings are necessary to determine the camera sensor’s sensitivity to light. Generally, all digital cameras automatically adjust the ISO by default. In order to set up the ISO, a user has to tap on the button labelled ‘ISO’ on the back. Now scroll through & select from the available on-screen options. Setting up the ISO is highly appreciated in order to take your photography skills to the next level. Be very aware of taking ‘test shots’ after setting up the ISO yourself.
See also Panasonic LUMIX Camera For video
How to use a Panasonic LUMIX camera?
I bet these queries have dragged you towards our content. Well, your prolonged wait ends here as we have highlighted our premium tricks to utilize the utmost potential of the digital camera. So, hurry up & dive in below!
Step 1: Explore The Camera
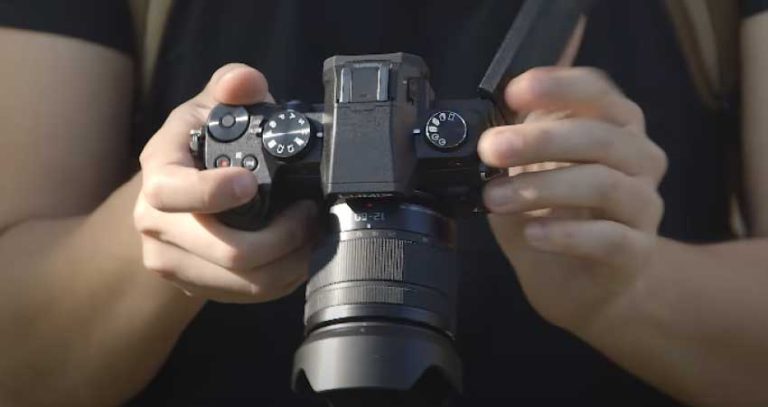
The path of being a pro will open up only when you will explore the camera and the kits properly. Trust me; After being accustomed to your camera’s potential, you will eventually rock in photography indeed.
Step 2: Deactivate The Auto Mode
In order to be a professional photographer, the very first thing a user has to do is to deactivate the auto mode. After being out of the auto, he will eventually understand other modes like shutter priority, speed, ISO, aperture. Many photographers love the Lumix manual mode camera for better scopes of exploration.
Step 3: Alter The Metering For Proper Exposure
By the word ‘metering,’ we simply refer to the control system on the light meter to read the frame. Generally, there are three metering modes to alter as per the need for exposure. Matrix metering is the default metering mode where the frame reads & exposes the whole scenario.
By using spot metering, you can particularly focus & expose a specific area. Lastly, the center-weighted metering is designed to balance between the particular focus & several surrounding vital points. We would especially suggest center-weighted metering when taking shots in an area with rich tones & high gradients.
Step 4: Utilize Proper Bracketing
Bracketing is a superb tool that’s featured in every Lumix camera of this decade. By utilizing this tool, a user will receive three different images as per the exposure stops. Bracketing is highly suitable for scenes with bright light or shadows.
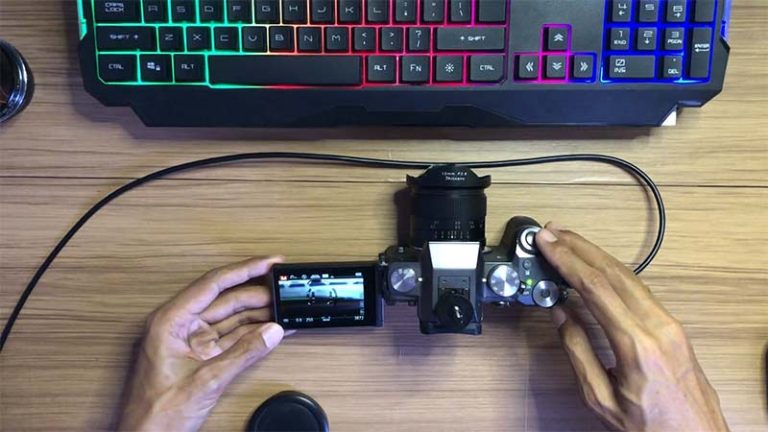
Step 5: Go For Long Exposures
Long exposure settings offer stunning results in dark light, especially when you are taking shots of the smoky waterfall, stars or the milky way. For Long exposure, first set up the camera in manual mode. Once you are ready & steady on the tripod, expose the camera sensors in the dark condition for a prolonged period.
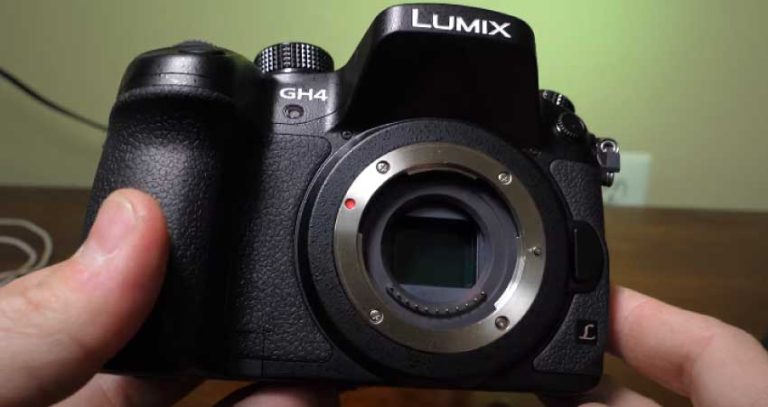
Step 6: Shoot Raw
Panasonic Lumix cameras are highly efficient in taking incredibly detailed images. Ultimately most of the credit goes to its powerful sensor. In order to utilize the utmost potential of the sensor, it is a must to focus on shooting raw photos. Raw images are certainly larger, but they offer better flexibility to edit as well.
Step 7: Utilize Multiple Exposure Of LUMIX G range.
In order to utilize the multi-exposure feature, the user has to Explore the Panasonic Lumix camera settings & shooting menu first. It’s a hidden feature of every Lumix G range digital camera. Multiple exposures allow you to form multi-layered images on top of one another and create a stunning result.
FAQs.
How to turn on my Panasonic LUMIX?
If you observe the Panasonic Lumix camera, you will notice a power button on the superior aspect of the camera. This button performs like the ‘turn on’ button & shutter button as well. After turning on the camera, it will be on ‘auto mode’ by default. Thus, the camera is instantly ready to take mesmerizing images once you press the shutter button.
How do I use my Panasonic LUMIX camera?
- Firstly check out the basicLumix camera modes and explore the kit to understand better.
- Get out of the auto mode and go for manual settings.
- Understand the basics of shutter speed, ISO & aperture.
- Alter meterings for appropriate exposure.
- Utilize bracketing as per the preferences.
- Go for raw images to have better scopes of editing.
- The G series of Lumix cameras offer multiple exposures to create outstanding images.
Final Words
This is a common query of all the photography enthusiasts who want to start their photography career with a premium Lumix digital camera. Basically, all digital cameras function pretty similarly. However, their efficiency will change depending on your capability of manipulating the camera’s potential. Our content has highlighted the basics Instructions & tips for operating the digital camera. We are confident that – our tricks & guidelines will surely lead you to become a professional photographer over time. So, are you ready to take some mesmerizing shots in your new Panasonic Lumix camera? How to charge the battery. – LUMIX S-Series For filming lab audience.

I am Terry E. Collin.
I have some top branded cameras, especially Canon R6, Canon EOS 60D and 70D, Nikon D700, Lumix G9, Lumix G85, and many more. I have been doing photography for 5 years with Top Brand cameras like Canon, Sony, Nikon, Panasonic, etc.
The purpose of creating this blog is to share my personal experience and expertise with most popular cameras.
Let’s share some of them one by one in this blog For FilmingLab Audience